
Rendering Lard… How to…
I’m not sure I can make this look pretty or sound pretty. I can make your food taste delicious if you use lard though. I got this how-to tutorial from melissaknorris.com if you are interested in looking at her pretty pictures and in reading more information. If your pork fat is from pasture raised non-gmo, non-additive piggies, it will be good for you and it won’t clog your arteries and is very rich in vitamin D. Our friends at shadygroveranch.net raise their animals right and this lard came from a whole pig we bought from them and butchered about 6 months ago. The fat has been taking up space in my freezer for that long and it was finally time to make some space. My house smelled pretty bad, but no one will complain once they eat this cooked in our favorite potatoes or once we perfect a true fried chicken recipe or when their pastry shell is perfectly flaky . Beef fat can be rendered the same way in order to make tallow, but I made stinky emergency candles with that because I don’t like the taste of tallow. I’ll post a candle making tutorial one of these days for those of you who also don’t love the taste of tallow, but who can stand a really smelly kitchen for a couple of days. But for now… let’s stick with rendering pork fat for tallow. Visit www.westonaprice.org for all of the reasons you should add tallow to your diet.
*This is DAIRY FREE and GLUTEN FREE*
Supplies
- Slow cooker
- Large glass measuring cup or large spouted bowl
- Ladle
- Colander
- Cheese Cloth
Ingredients
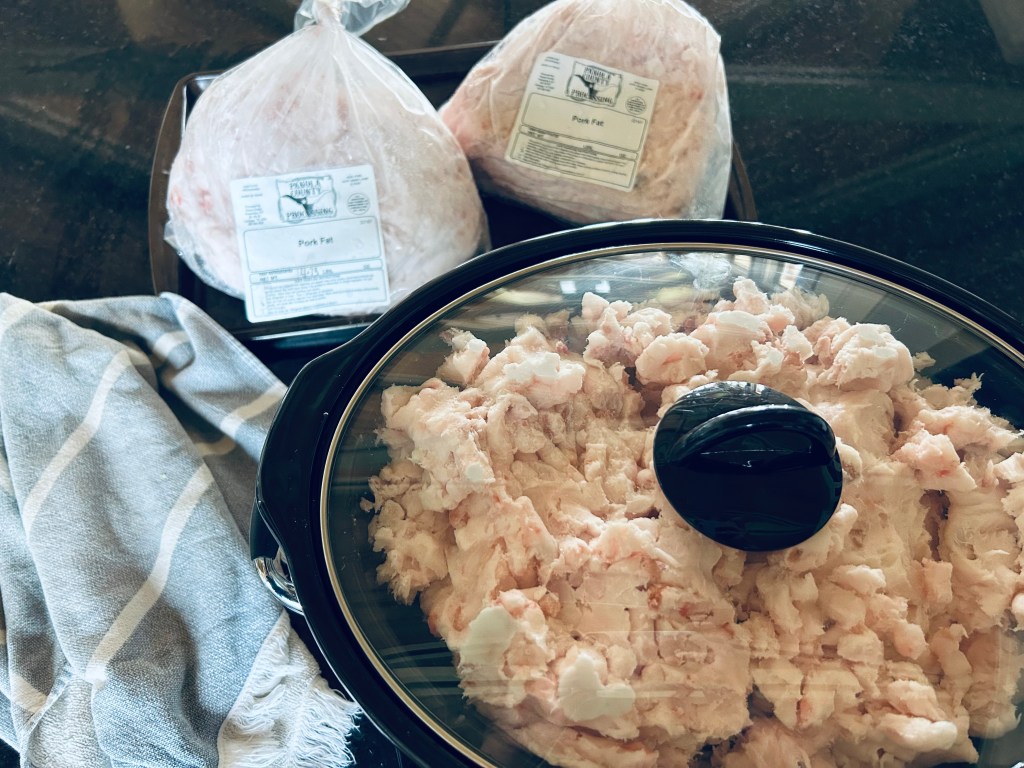
- 4 quarts lard, cubed or just broken in large chunks
- 1/4 cup water
Directions
For frozen lard: let sit on counter for a couple house to let it soften enough to be able to break/cut into large chunks.
If lard is not frozen, stick in the freezer for a few hours to let it harden.
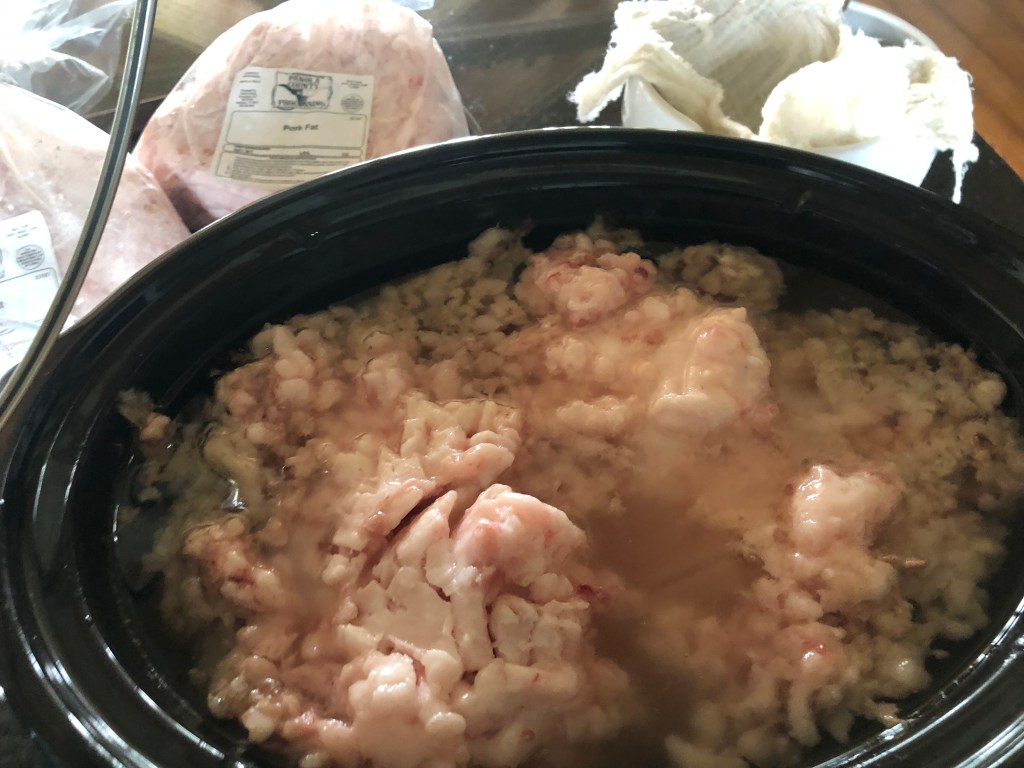
Add 1/4 cup water to bottom of crock pot.
Chop the lard into 2 inch cubes if possible. Our lard was pre-ground (I think – see picture) so I didn’t chop mine but just broke it up so I could fit as much as possible in my crock pot.
Cook on high for 30 minutes or until lard is beginning to melt and looks shiny. Stir lard and turn to low.
Stir every 30 minutes until liquid reaches the top of the cubes or chunks of lard, which should happen after about 3 hours. At that point, you can ladle out your first rendering.
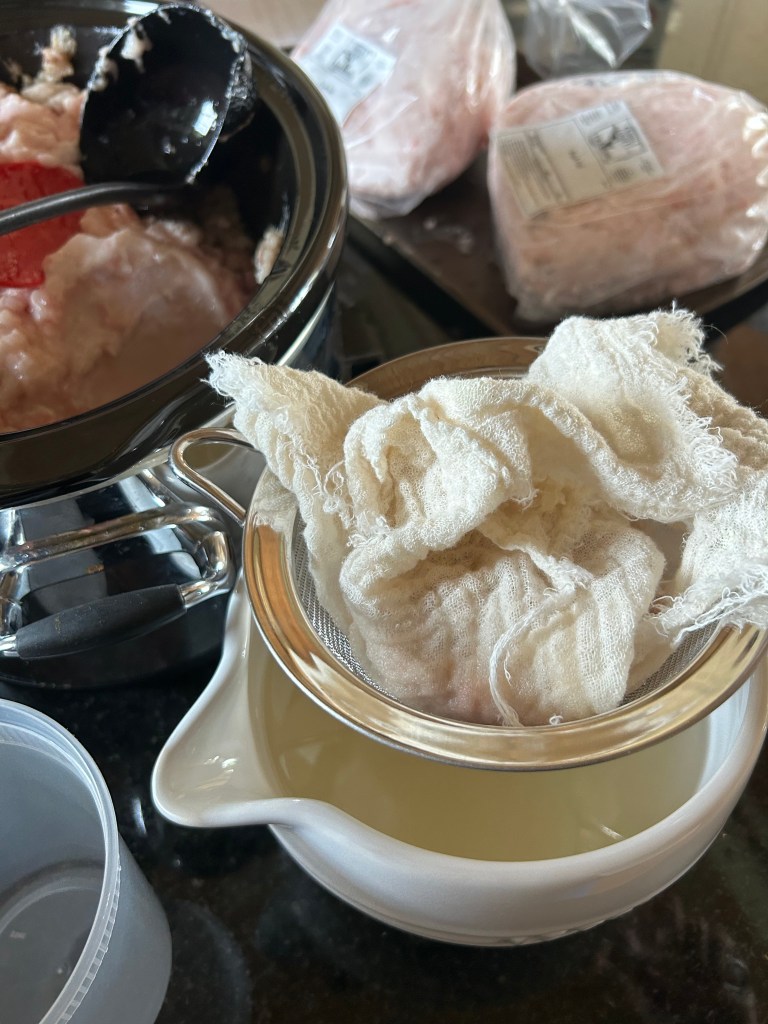
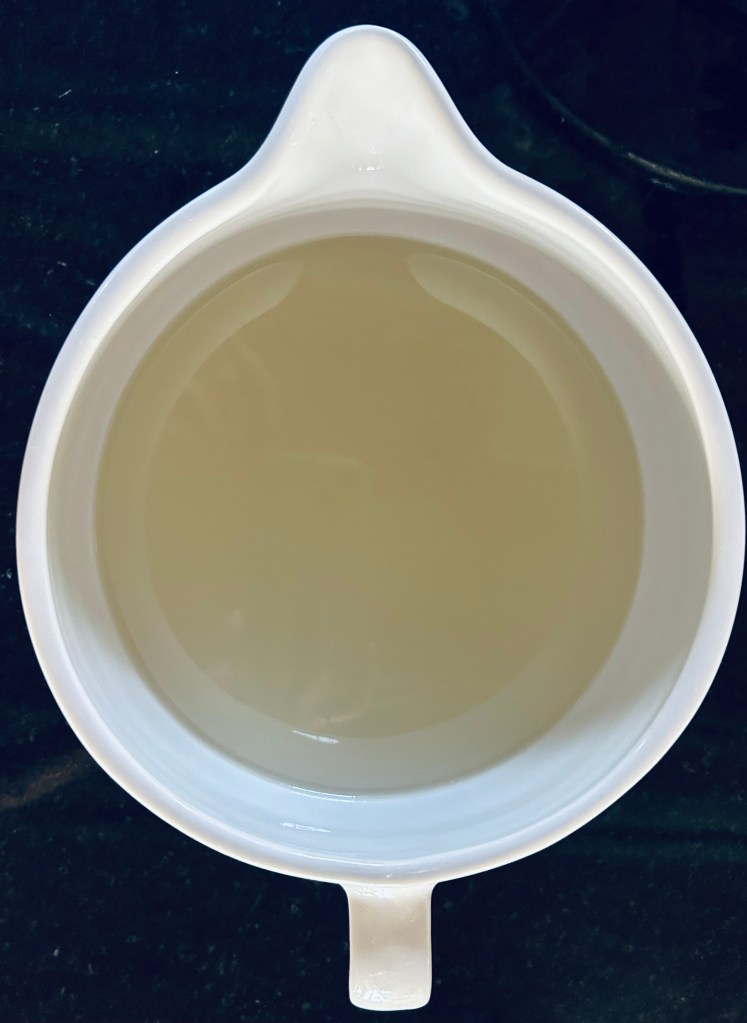
Place a piece of cheese cloth over a wire mesh strainer over a large spouted bowl. Using a ladle, ladle as much of the liquid as possible out of crock pot and into the cheese cloth covered mesh strainer/spouted bowl.
Remove mesh strainer and put and solid pieces of lard back in the cork pot.
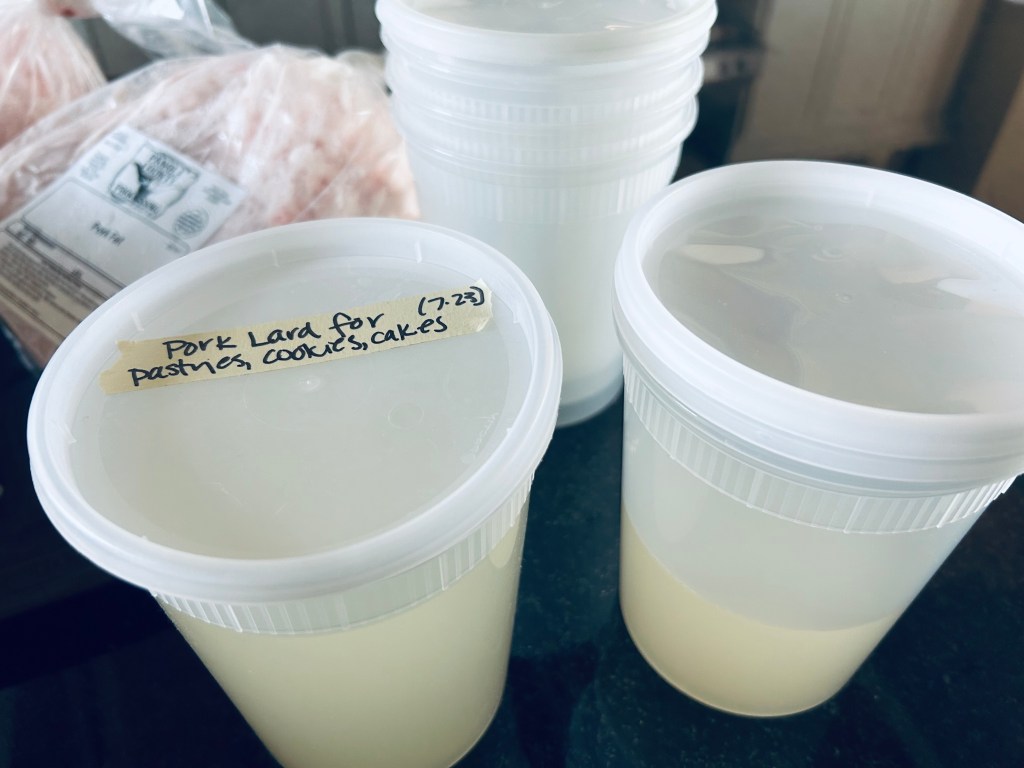
Let liquid cool slightly and add to mason jars or these plastic BPA-Free containers. Place lid on once lard is cooled. Label this “first rendering.” This will be used for: pastries, cookies and cakes.
Continue this process three times, labeling each rendering accordingly, first, second and third. The second rendering will be used for: biscuits, pie crusts and cornbread. The third rendering will be used for frying.
Store lard in refrigerator for up to 6 months or in the freezer for a year.
